Argentine Grill
My first welding project:
After a few years I did not get to work on a pet project because of work/kids/life/whatever, it tickled in my hands to learn something new. I convinced one of my friends and we took a welding course.
I already had some experience with amateur carpentry, and learned that amateur welding is less complex in terms of both theory and required tools. Basically all you need is a welding machine and disc (angle grinder). That’s an amazing upside!
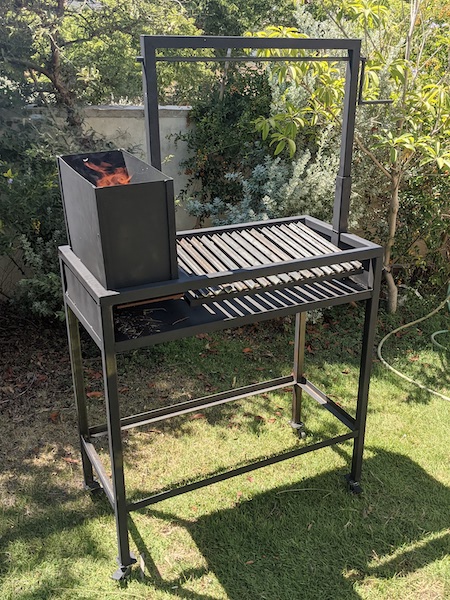
The downside is that you can basically build only two products - a grill and a smoker. So that’s what I “decided” to do! I have built this grill as my welding course’s “final project”. It took about 5 working days, which spanned over a few months.
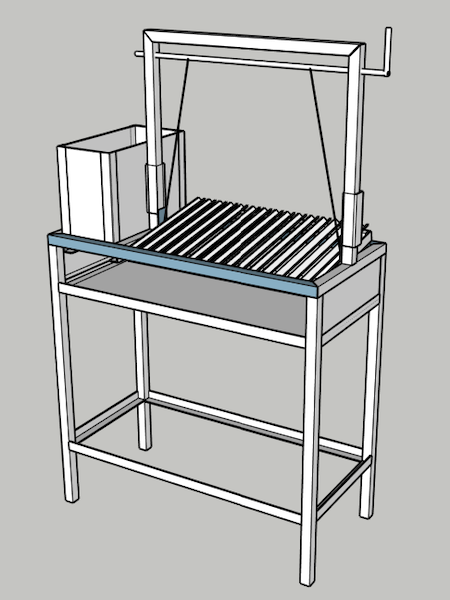
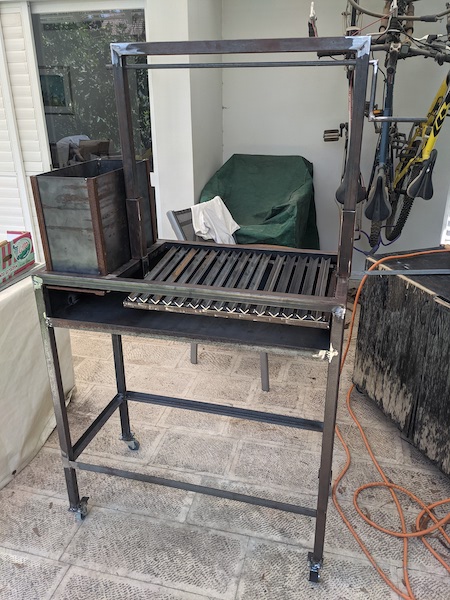
I started this project by learning some SketchUp (the online free version). It is not very intuitive at first, especially if you don’t have prior CAD software experience, so I would recommend some YouTube tutorials. My design tried to follow the main features of Argentine grills from Google photos (for example) - wood box, height control, angled v-grates and cart on wheels. Here are the final plans - pdf, skp.
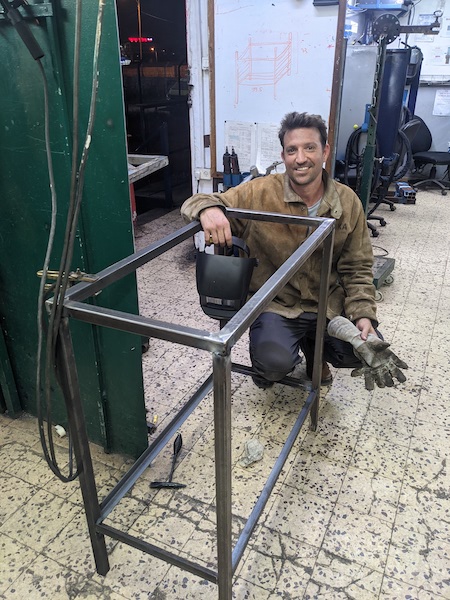
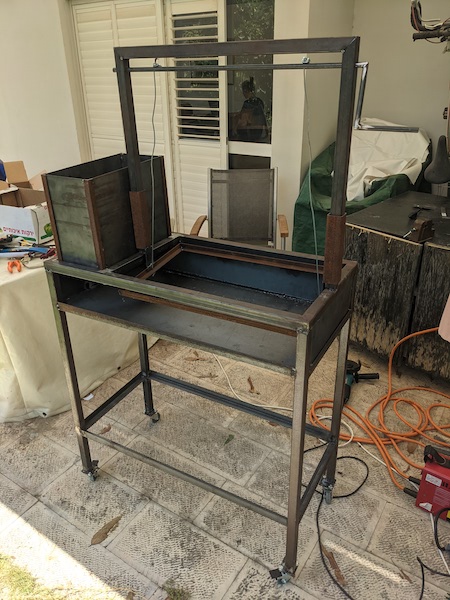
After two sessions in welding course that we learned how to work with the electrode, I have started working on the grill. I used a “black iron” (wrought iron), a low carbon steel, as that is what we had available at the course and also this is the most common welding material used. Afterwards I read that many people prefer low carbon steel over stainless steel for grills as it has much better heat conductivity (59 vs. 14 wtfs ref).
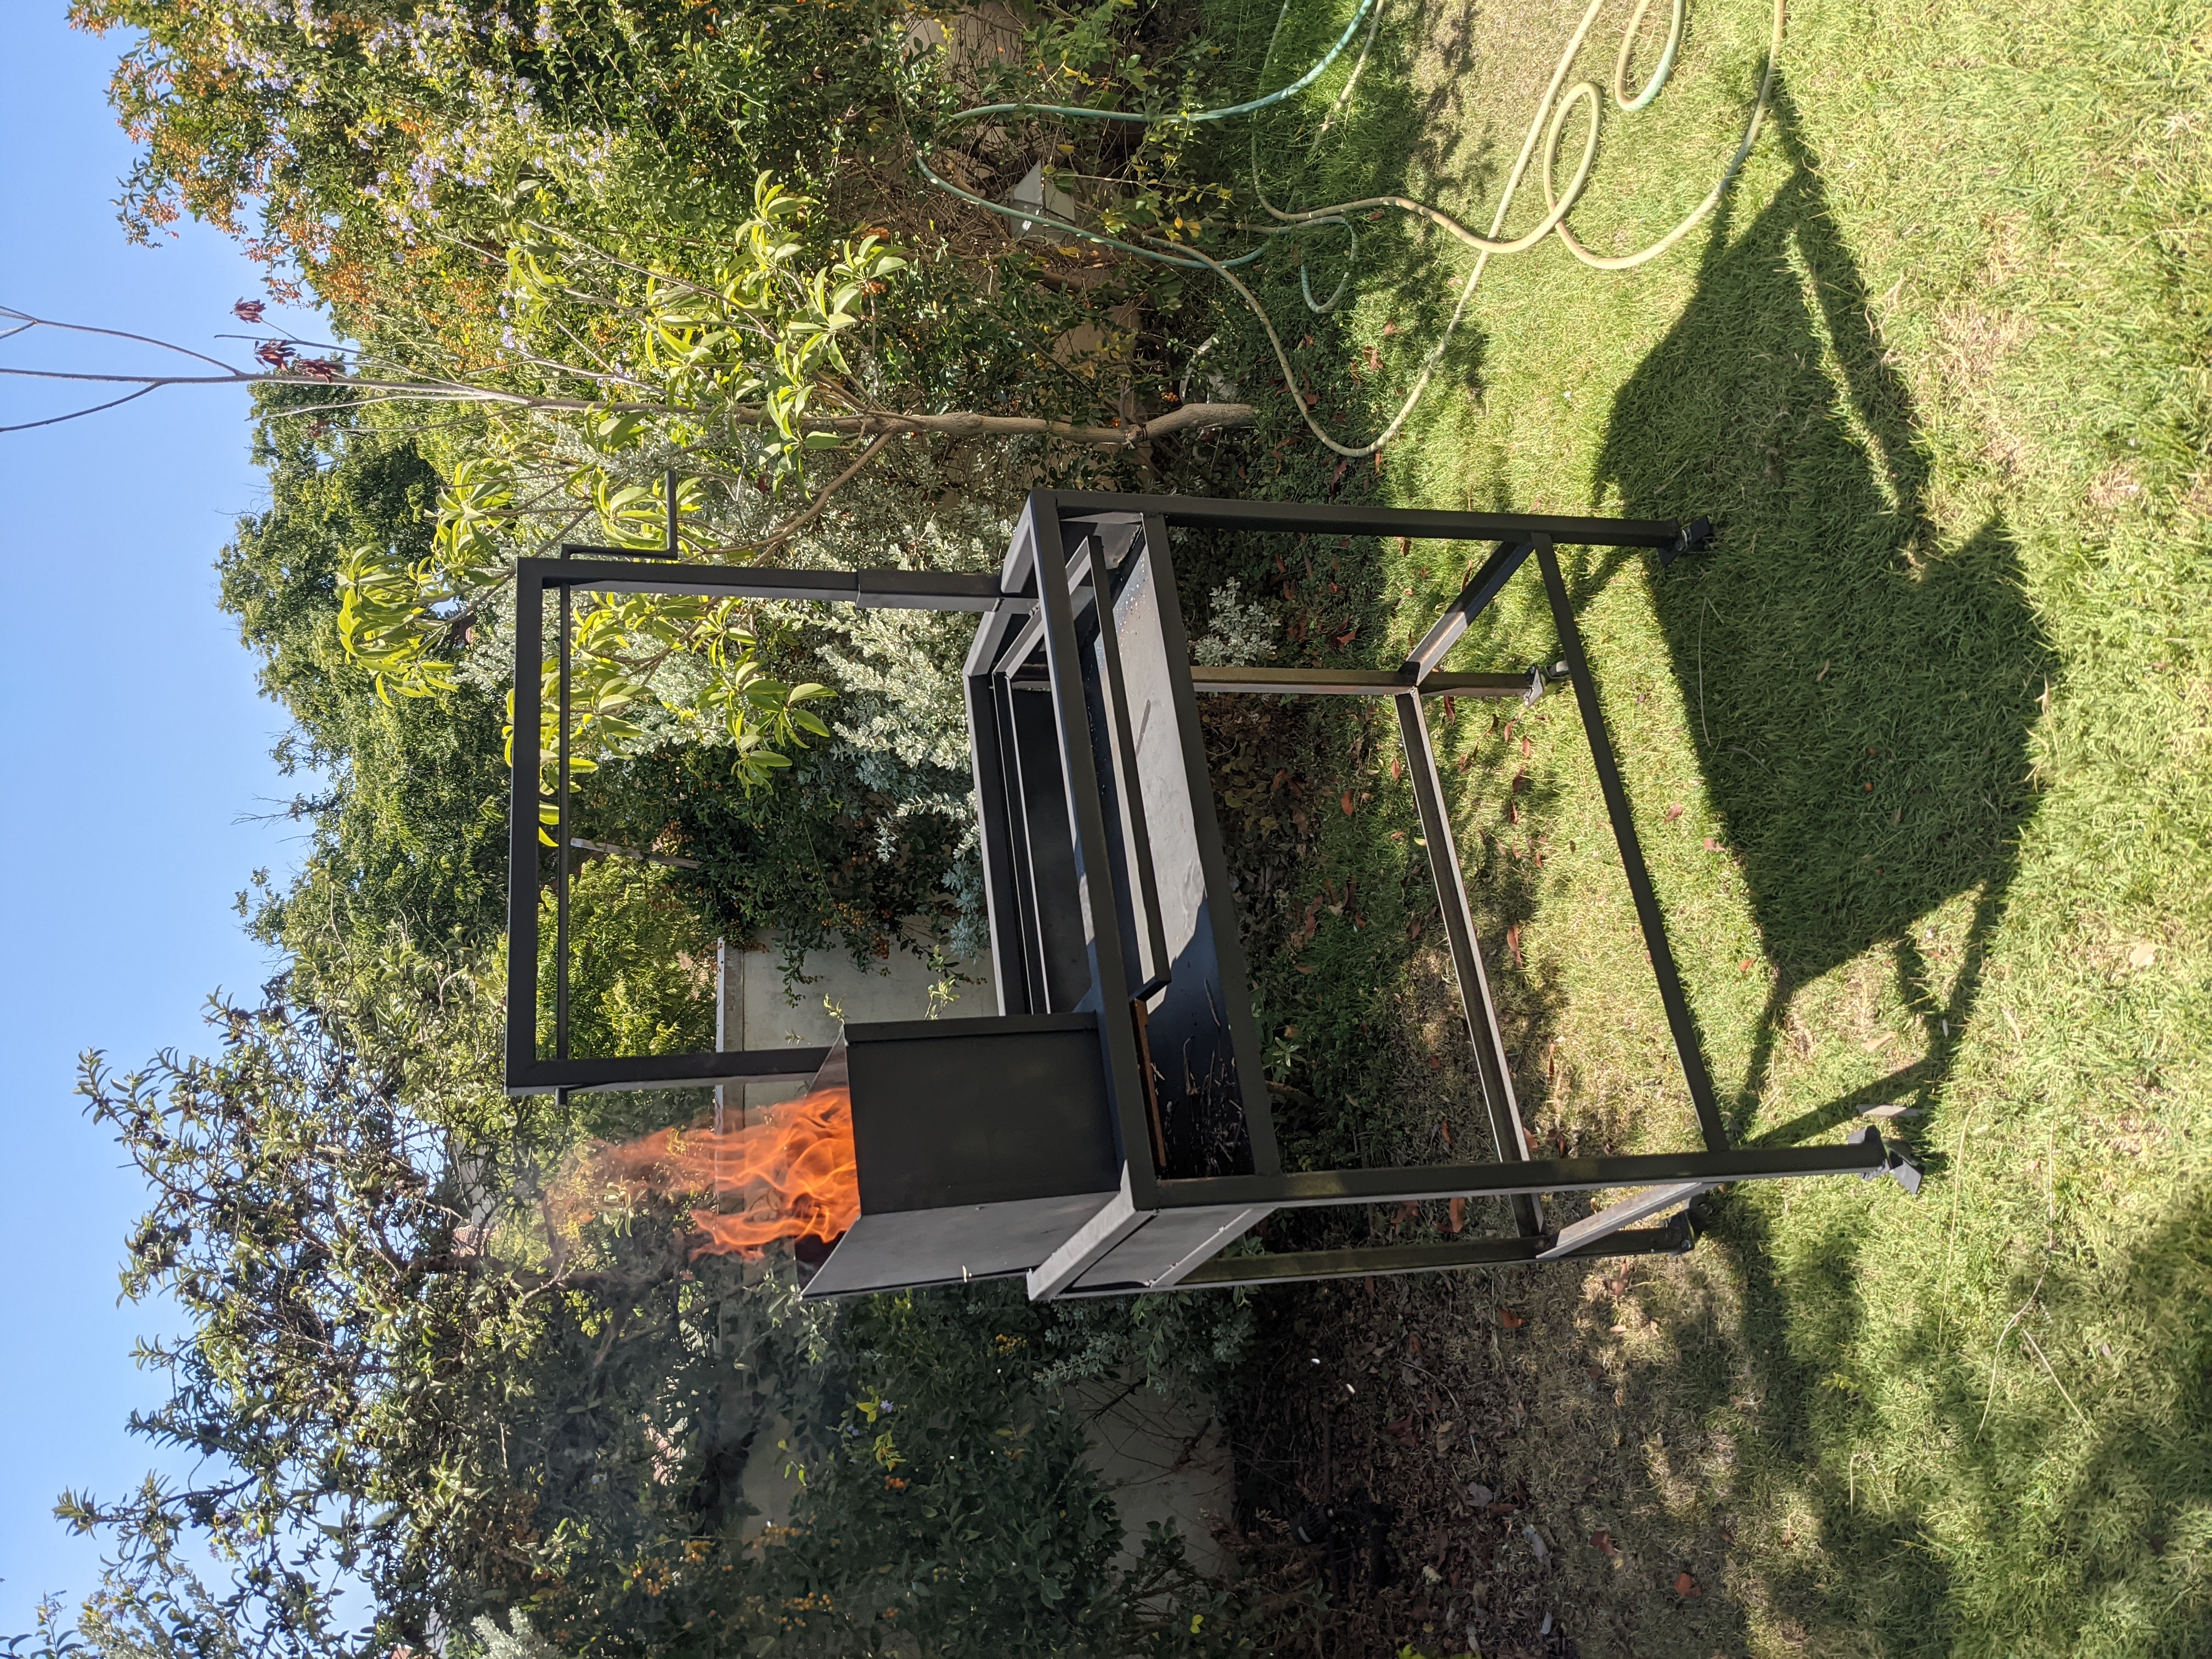
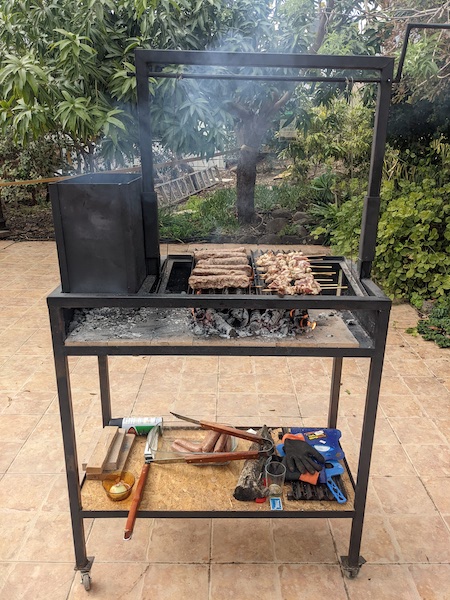
Here are some photos from the process:

Comments